Solar street light repair

Solar street light repair intro

We bought a two new solar street light which we planned to mount on the street front of our property. After reading the manual it recommended to put it to direct sunlight for a day or two to make sure the battery will be charged. Unfortunately the batteries fried themself and we had no lights anymore this is where our solar street light repair story begins.

Investigation

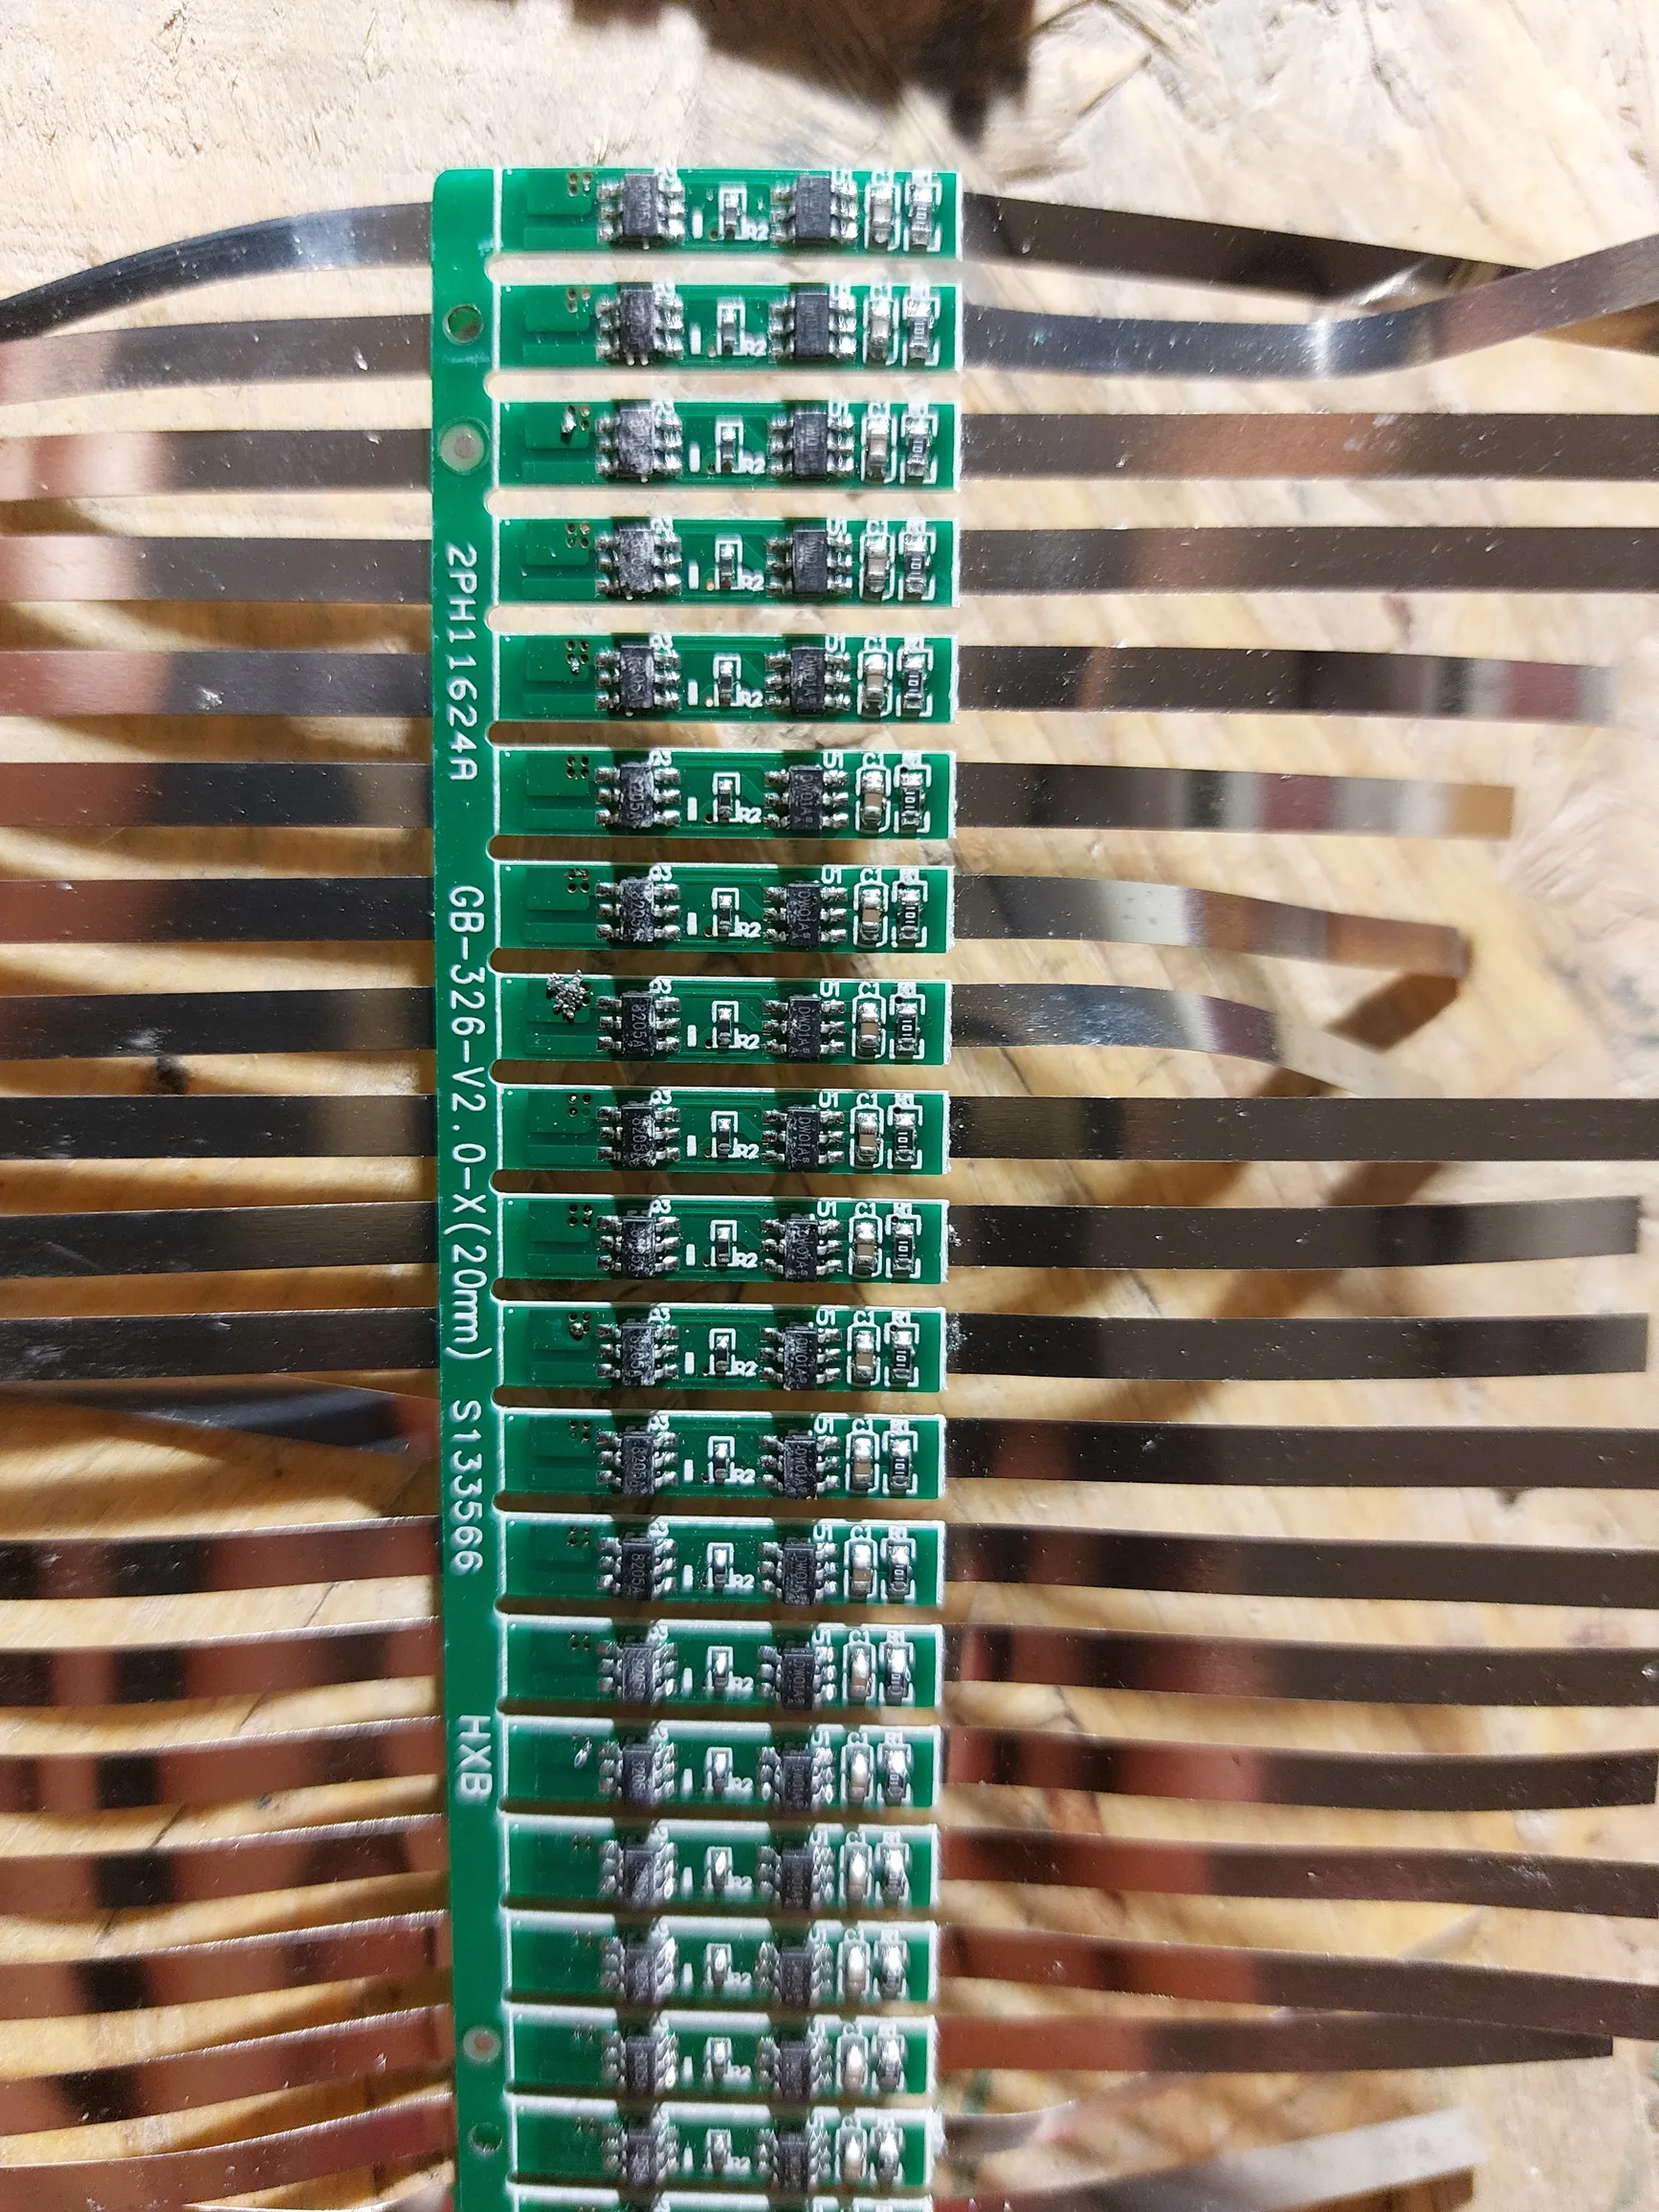
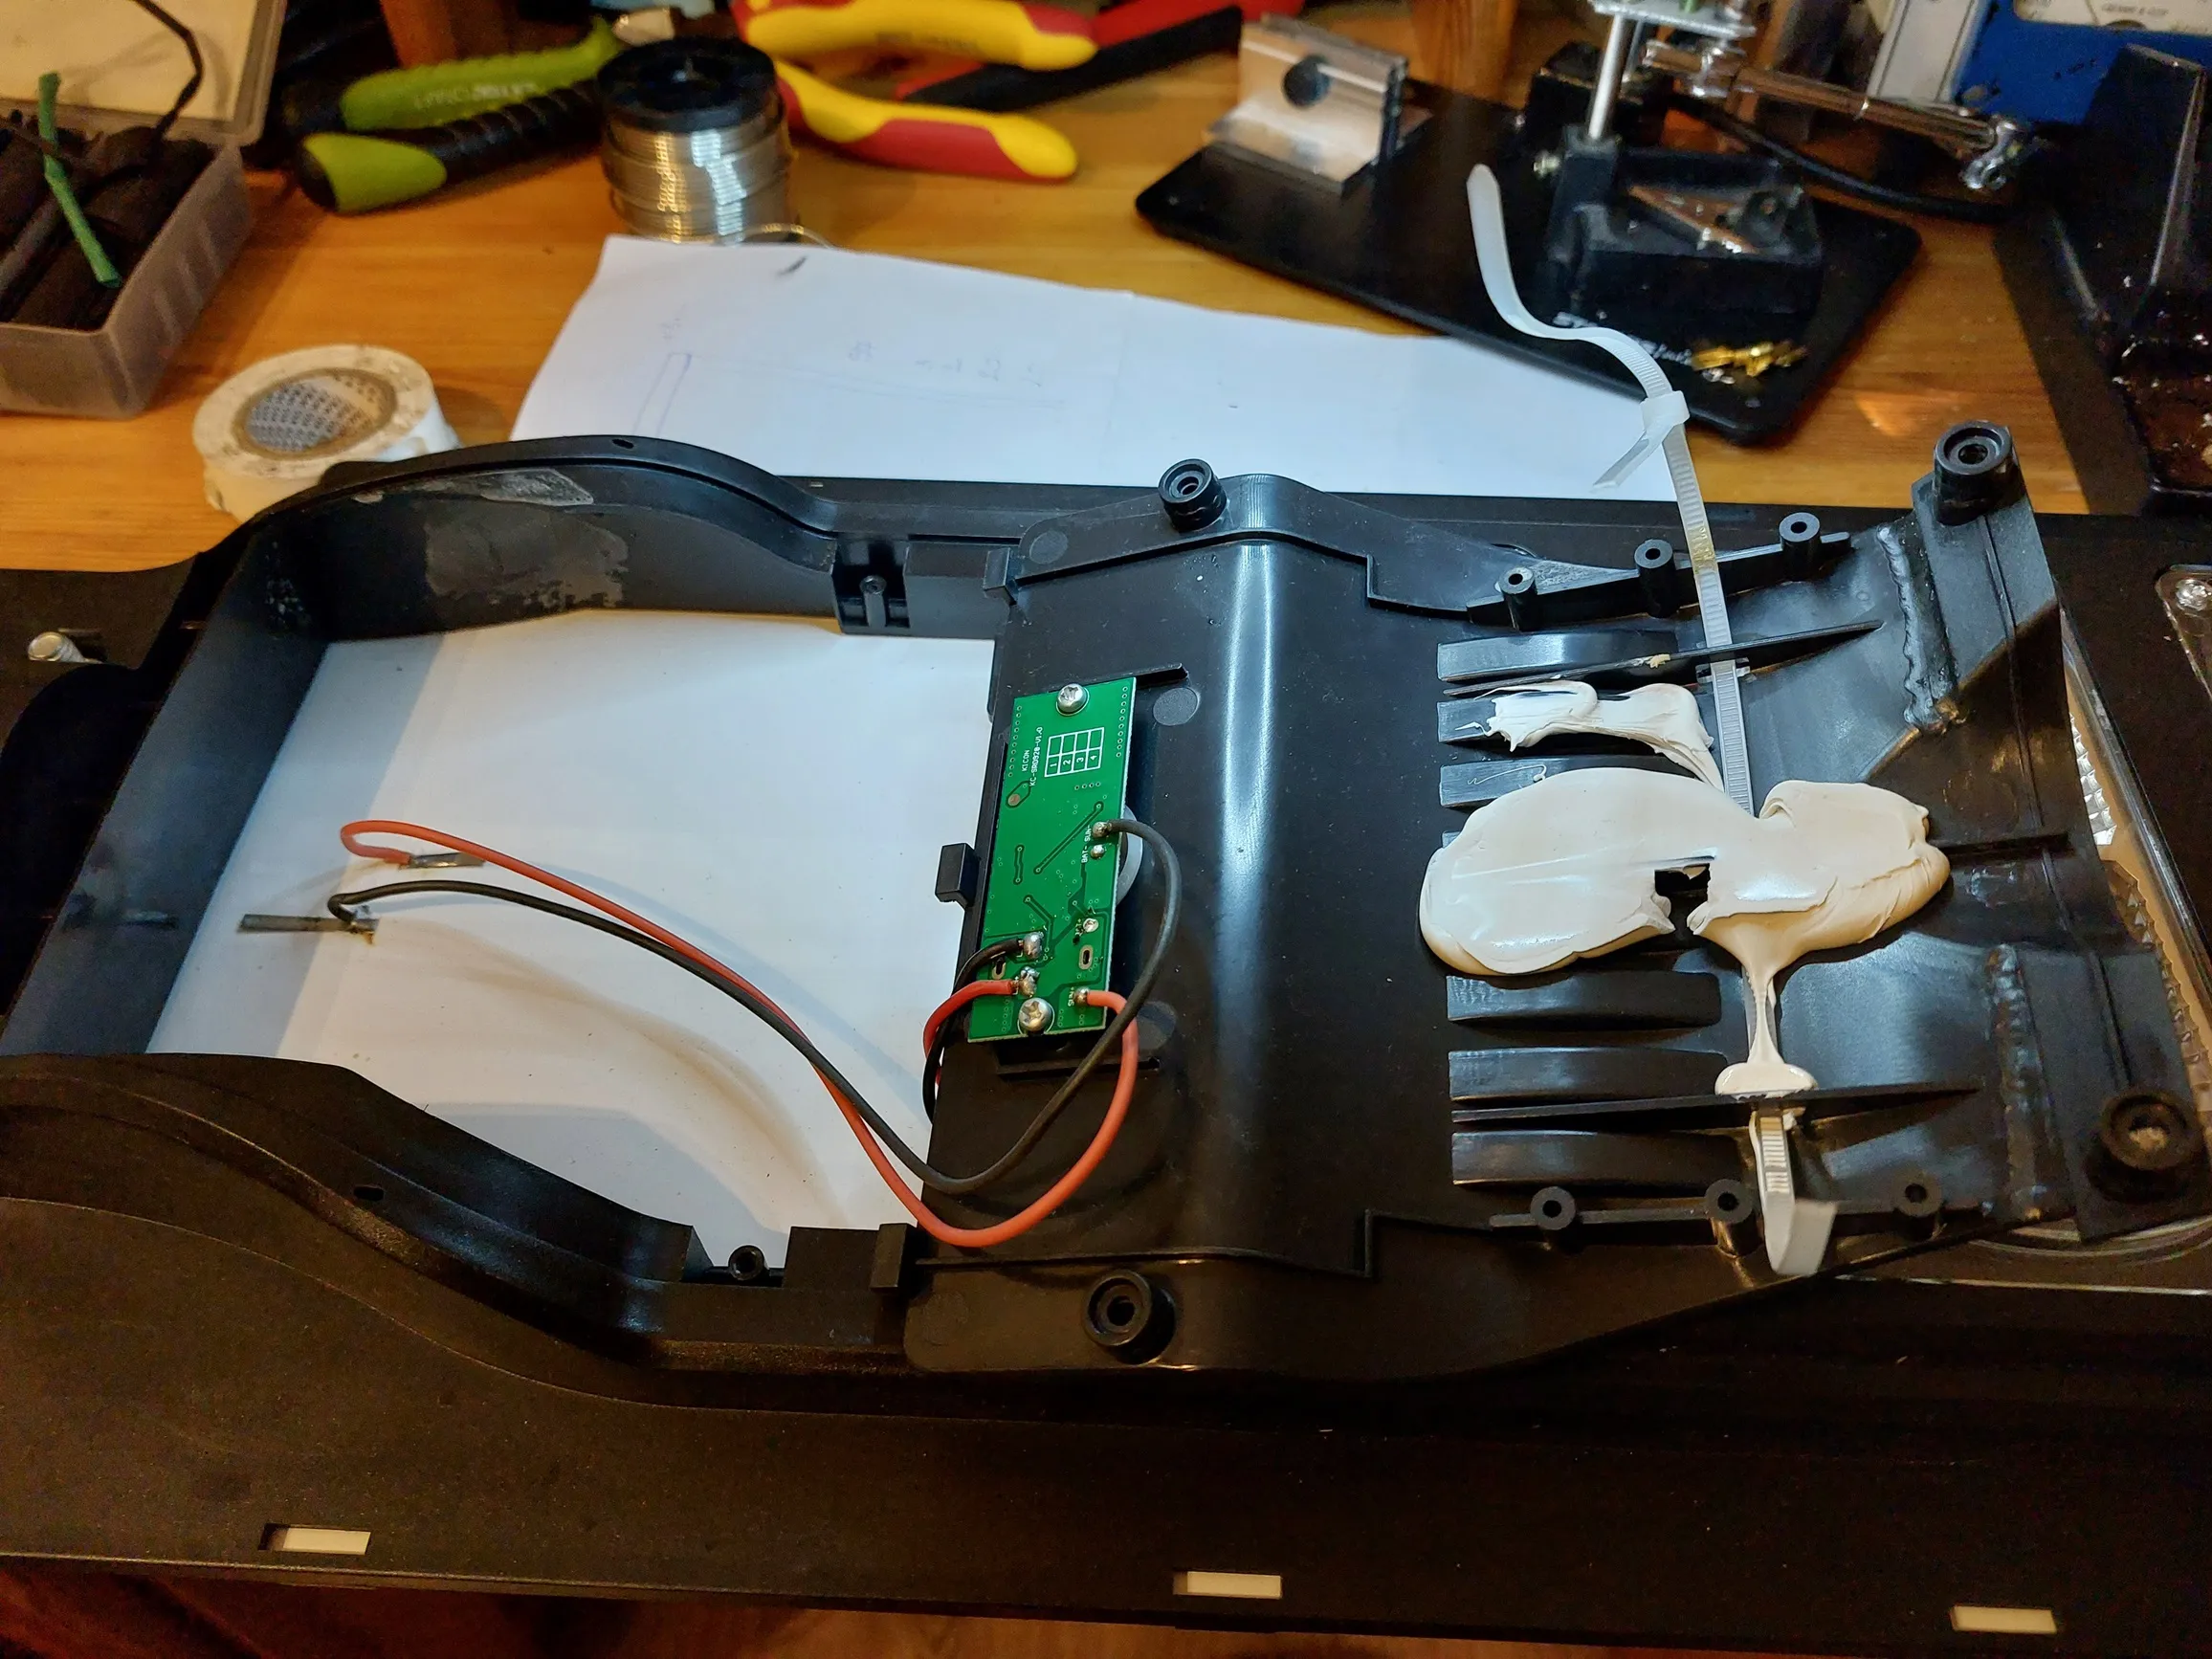
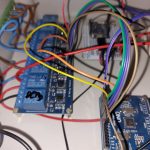
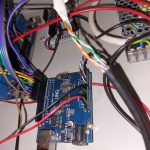
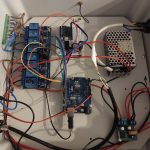
After disassembling the unit it revealed its secret. The LiFePO4 battery “ran out” of juice literally and now it was showing short using a multi-meter. As we have lots of space in the lamp we decided to create a new battery set from our remaining 18650 cells.

Solution

We took our remaining cells and created a super huge capacity battery so our solar street light can light all now long even during the long winter nights. We created a 2S Li-Ion battery pack using BMS to make sure we will not over or undercharge the cells. We had this idea after we have measured the short voltage value of the solar cells. This was a mistake! The solar cells produce less voltage when they are under load… So after we created our battery pack we faced two issues: – we created a bigger pack and it did not fit [we forgot to calculate the size of the plastic holder] – the battery pack provided more voltage then the circuit was needed. Yes your are right we fried the PCB! 🙁

Solar street light repair tests results and future improvements

We have the following open topic:
– when disassembling something do not through away parts till you took photo of them. Even if they are leaking batteries
– do some test with labor power supply unit to make sure about the operation voltage of the system
– the lamps do not work
– we do not have a proper battery
– do not be afraid to use Google
– we did not solve the issue 🙂

DIY Garden irrigation controller – Part III

Intro

We are happy to introduce the completed DIY Garden irrigation controller. It was a long time ago since we started to work on this project. Looking at the timestamps its really shocking how much time passed. Anyhow now it is completed and ready to server it’s purpose and will help us to grow amazing vegetables. We also need to admit that this is only the ‘brain’ of the hardware so the electric wiring and fuses still need to be installed. For that we will have a separate entry. Now let’s jump into the hardware details! Also if You are interested in the previous entries please check out : part II

 Quick recap

DIY Garden irrigation controller contains the following main parts:

  • Wemos pro mini
  • Arduino Uno
  • Relay board
  • Power supply
  • DC-DC converter

As a quick recap – we need the Wemos pro mini for the communication with the Wifi network and also for uploading the data for cloud so we can monitor the system via the internet. Arduino Uno is needed because we needed a lots of pins for relays and also for detecting water level in our water tank.

Explanation

For our well we needed to add a bit more complex shutdown procedure as the pump is old and grumpy. It means if you disconnect it under load [when it is pumping water] it sends back a huge voltage spike to the grid which is not good, also if you pull it from the plug it will create a huge spark… For this reason we added a flow sensor to monitor when the well runs out of water the pump stops on its own. We can get 100L in every 3 minutes then for ~10 minutes we do not have enough water in the well. This is the time window when we can shut down the pump. Everything else it’s quit straightforward. We also have a gray water tank which we use to water the grass which has a submerged pump in it,  we trigger it during dawn. Have a motorized ball valve for starting the irrigation and one extra option for switching on a lamp.

Code is available here : github link

Mercruiser Bayliner gauge repair 1993 voltage and temperature

In this article the Mercruiser Bayliner gauge repair will be the topic. Unfortunately in these days you cannot find anybody who would willing to repair the old gauges although with some patience, work and routine the gauges could be saved and we do not need to buy new ones, so we can do something to generate less electronic waste and protect our environment.

Let’s jump into the task of Mercruiser Bayliner gauge repair! First we removed the gauges from the boat. During this step it is recommended to take pictures or label the wires. As we are talking about 20+ years wires their color could be faded and hard to distinguish from each other. The other approach can be to remove only one gauge at the time so we could be sure that the hanging wires will belong to the removed unit.

When we have the gauge in our hand clean it from the rust and dust. Spray some screw loosener on it. We are dealing with 20+ years old plastic elements we should be very careful as they brake very easily. We broke one of the gauge needle and it took a while to repair it.

After the loosened the screws but did not removed them we should carefully remove the glass and metal frame from the front. Only after this we should remove the nut from the back because those held the inner components in place!

After some tests it turned out that the plastic part was separated from the shaft, that caused the gauge not to show anything. Also as plastic part was blocking the metal piece to move freely..

We took a little candle wax and sticked them together and the gauge came back to life. After we calibrated the gauge with our lab power supply (that is why we need to use wax as its easy to remove) and the declared to be good we glued it with high heat resistance instant adhesive. We waited 24h removed the wax retested the gauge and put some glue where the wax before.

After everything was working we assembled the gauge and installed it to the boat. Everything worked perfectly. We saved the boat owner ruin the main gauge board look with using different color, style and type gauges.

This was the Mercruiser Bayliner gauge repair topic for today!

Have a good day!

Gauges which are still available:

Back to blog.

DIY Garden irrigation controller

Which so many others project this Wifi DIY garden irrigation system was not completed in time for the season. On the software side we reached 95% readiness and well on hardware side we had a little bit of a delay. We physically have everything what we need. The components on their own been tested ad they are ready to build in. But, there is always a but! The place of the controller and the planned 230V setup was not completed in time. Because of this there was no reason to rush with the controller… It will be ready for the next season! 🙂 Till then a few images how it will be assembled in its container and deployed to the field.

Who did not read the first entry can do it here : first steps – Wifi DIY garden irrigation

diy garden irrigation control box
servo controller ball valve
flow detector attach to KPE pipe

‘Houston we have a problem!’ – Improvise from what you have

It always strange when time does not fly like the Millennium Falcon in hyperspace then it seems to be no moving. In the next second you realize that you already late with your own ‘I want to do that!’. My plan was to create a controller for my plants so I can water them automatically which free up some time up my end and would guarantee that the plants will not dry out if I’m not around for a few days. Everything went smoothly, I was thinking on the how and with what questions. Then suddenly the calendar shows me it almost summer and I’m nowhere with the controller. Panic mode ‘ON’ let’s see what we have in house, what we can improvise. I quickly pulled together the previous project’s leftovers to see what we can use. It is always a good idea to order more then you need from the given parts, accessories etc. making sure you have spare parts or sooner later a decent own stockpile.

Stayed tuned! Next post is coming soon!

project leftovers