


IoT solutions for specific needs
Today’s topic will be the soldering issues with wemos mini pro. When dealing with today’s micro electronics even on entry level these components can be really small. On one side it is good as you can have a lots of memory and computing capacity in a tiny place but is also means when you have to modify / fix something you have to have a stable hand and a very good pair of eyes. Even if you do you can still ran into issues which we would like to show you in this post. We were working on a very simple proof of concept and we were in a rush to deliver it. Everything was ready on ‘table’ meaning that you probably familiar with. All components wired together software is working correctly BUT you still need to pack it somehow to deliver and test it in its desired location.
When we completed packing / boxing and conducted a final test the
project was not functioning anymore. Huuuuuh – big hale and exhale. What
is the first question which goes over our head? Is the wiring got
broken? Is the hardware got damaged? No not these 🙂 The first which
comes out from your mouth is : “Why it has to happen with me?”
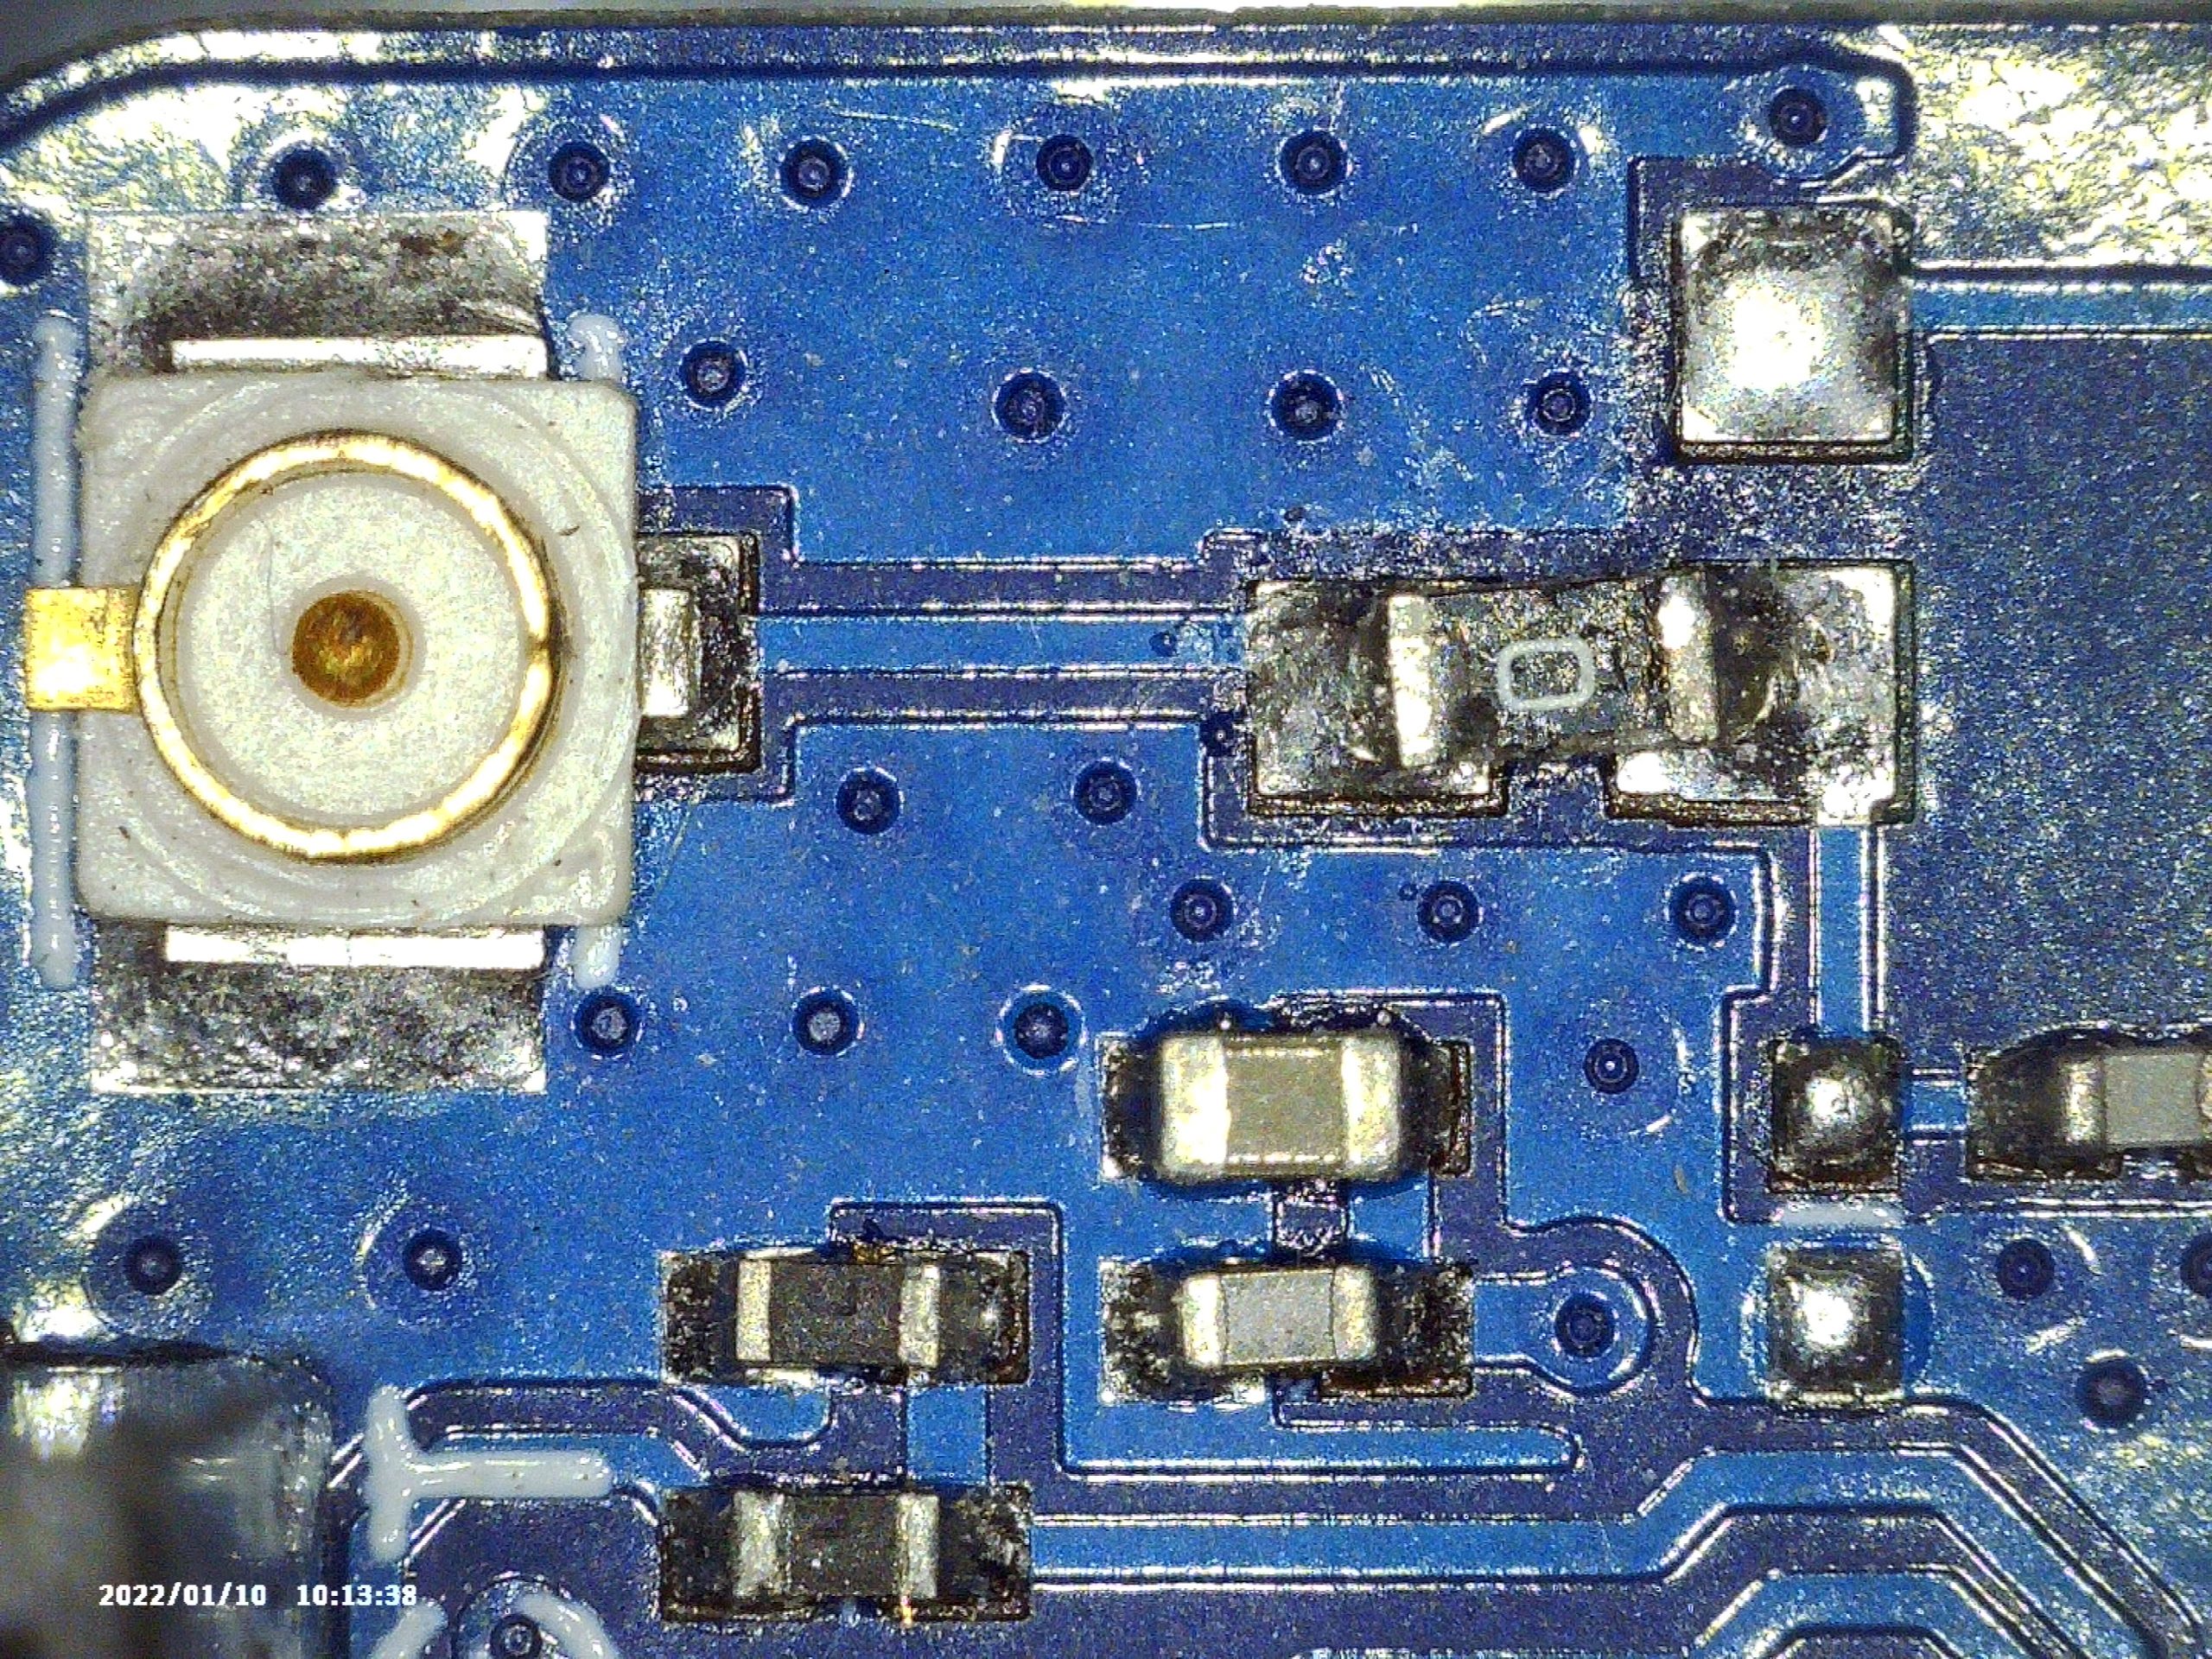
Then you start to disassemble the POC wire by wire and checking the outputs. Of course two things can happen during this process: the last connection which you are going to double check will be the issue, or none of them. So no matter where you start it will take long time. When our board had no connections we came to a conclusion that it has to be soldering issues. So we took our microscope and started to examine the soldering points. On image 1-2 you can see the legs where we had the soldering issues on the wemos mini pro . The soldering material was not running all the way down to the panel which caused the connection error.
Finally we could assemble the project and move on!
This website uses cookies to improve your experience. We'll assume you're ok with this, but you can opt-out if you wish. Read More
In case of sale of your personal information, you may opt out by using the link Do Not Sell My Personal Information
Do you really wish to opt-out?